Discussions
Summary
Discussions let students communicate asynchronously with each other and teaching staff on a particular topic.
Discussions can be used in many ways, such as:
- Q&A forum, with optional anonymous posting
- sharing small-scale student contributions
- asynchronous seminar-style discussion
- facilitating group work
Case study: Using the journal tool and discussion groups on the Strategic planning: a journey module
Jonathan Fanning shares his experiences of using the Course Group, Journal and Discussion tools to support a highly interactive project-based module in SBS.
Watch their presentation:
Using the journal tool and discussion groups on the ‘Strategic planning: a journey’ module (Panopto viewer) (6 mins 42 secs, UoY log-in required)
See the full case study for more details and the transcript. You can also browse our full set of case studies.
Create a discussion
- In the Course Content area, hover where the discussion should appear. Click the plus icon then Create.
- Under Participation and Engagement, select Discussion
- Enter a descriptive discussion title at the top
- Enter instructions or an initial post in the text editor box and click Save. Text entered here is also shown as the item description on the course content page.
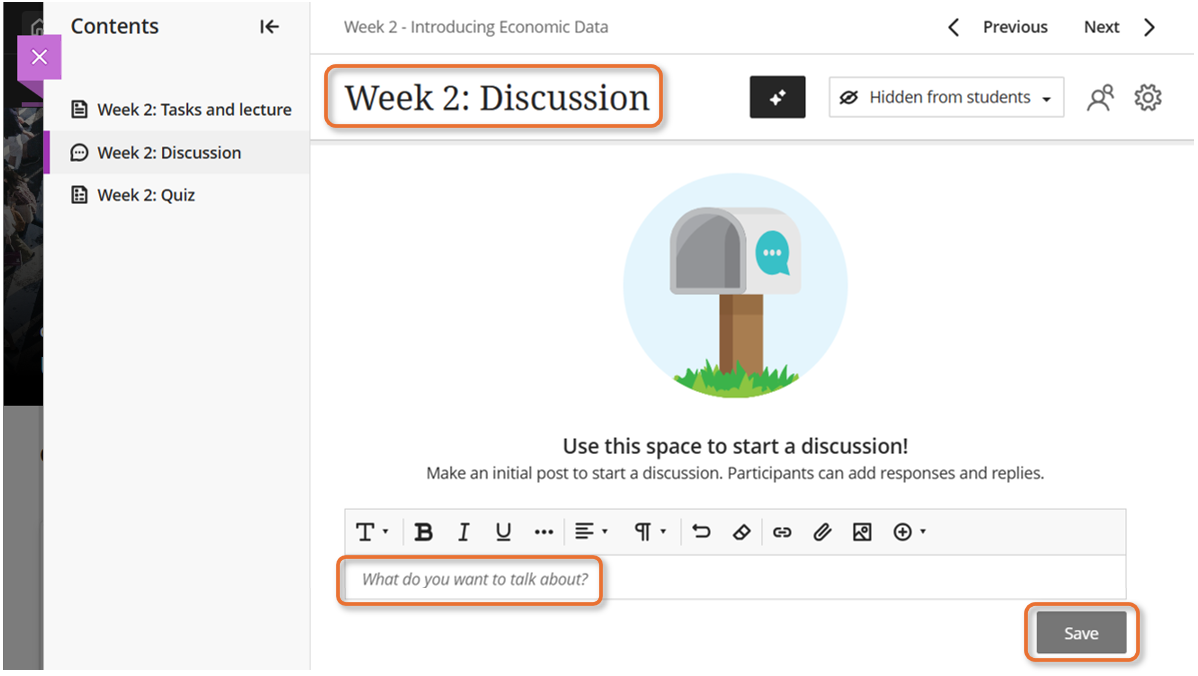
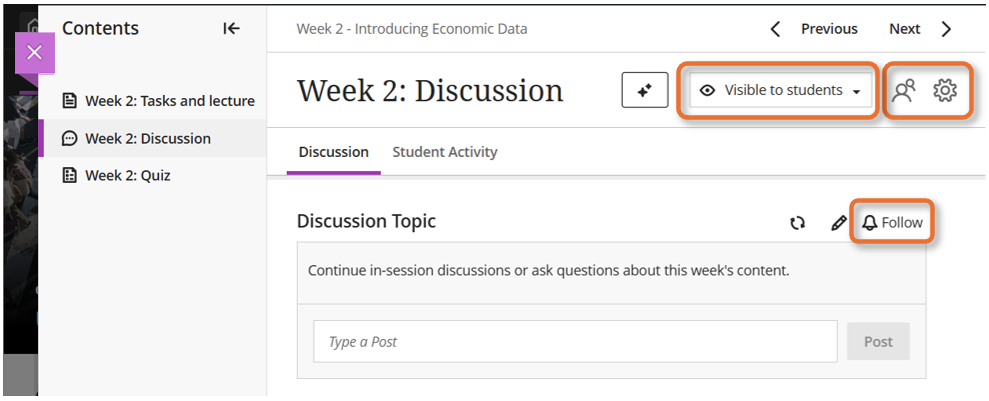
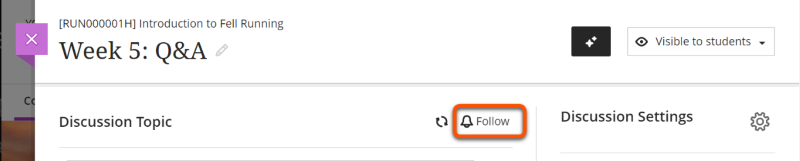
- To follow/subscribe to the discussion, click the Follow bell icon next to the discussion topic.
- If required, click the cog icon to open settings, or the people icon to open the participant list with engagement details.
- When ready, set the discussion as Visible to students or specify Release conditions (see our guide to Content visibility for more detail).
Generate Discussion prompts with AI
Using AI tools effectively
AI-generated content is a starting point for your own content development rather than a finished product. You must always carefully check that output is accurate and appropriate for your intended use and adapt as needed.
See our general guide to Artificial Intelligence tools for more details on using AI responsibly.
The AI Design Assistant Tool can auto-generate Discussion prompts based on your site content. This may be most useful for exploring ideas for project work and assessments, as tasks suggested are often quite complex.

Access a discussion
There are two ways to access discussions:
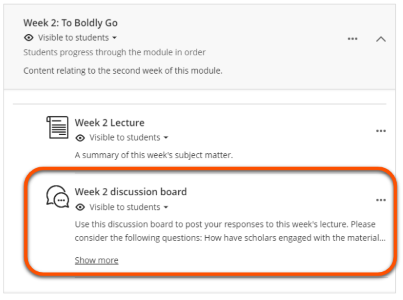
- Click on a Discussion located within module materials in the Course Content area.
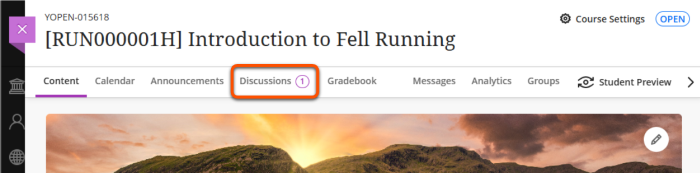
- Open the dedicated Discussions tab in the top navigation bar for a list of all Discussions on the site. The tab also shows a counter of unread Discussion posts.
Tip
Deleting a Discussion in the Course Content area may only delete the link to the discussion. Check the Discussions area to make sure it is deleted fully.
Follow a discussion
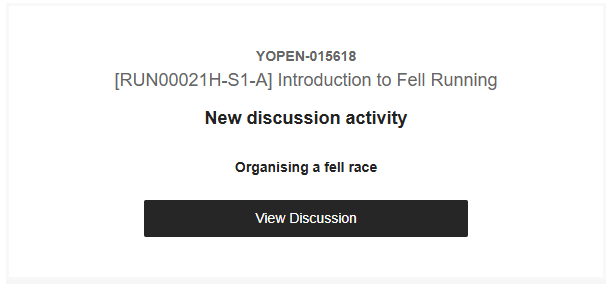
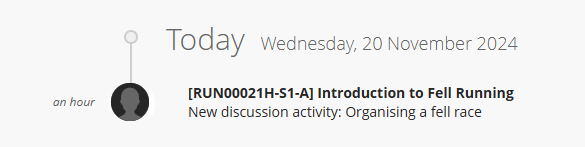
You can follow (subscribe to) a discussion to receive notifications of posts, replies and other activity by email and/or in the Activity Stream.
To follow a discussion, open the Discussion item and click the Follow bell icon adjacent to Discussion Topic.
Your system notification settings also need to be configured for Discussions:
- Email notifications - Email me straight away: tick the Discussion activity box, or expand to select specific actions. You will receive an email immediately for all selected activity.
- Email notifications - Email me once a day: tick the New discussion messages box. You will receive an email at the end of the day for new and unseen messages (ie. you won't receive notifications for posts that day that you have already read in the site).
- Activity Stream notifications: tick the Discussion activity box, or expand to select specific actions. You will receive these notifications straight away.
Notifications contain the site and discussion name, but not the post itself, so you'll need to visit the Discussion to read it. A new label shows new activity since your last visit.
Discussion settings
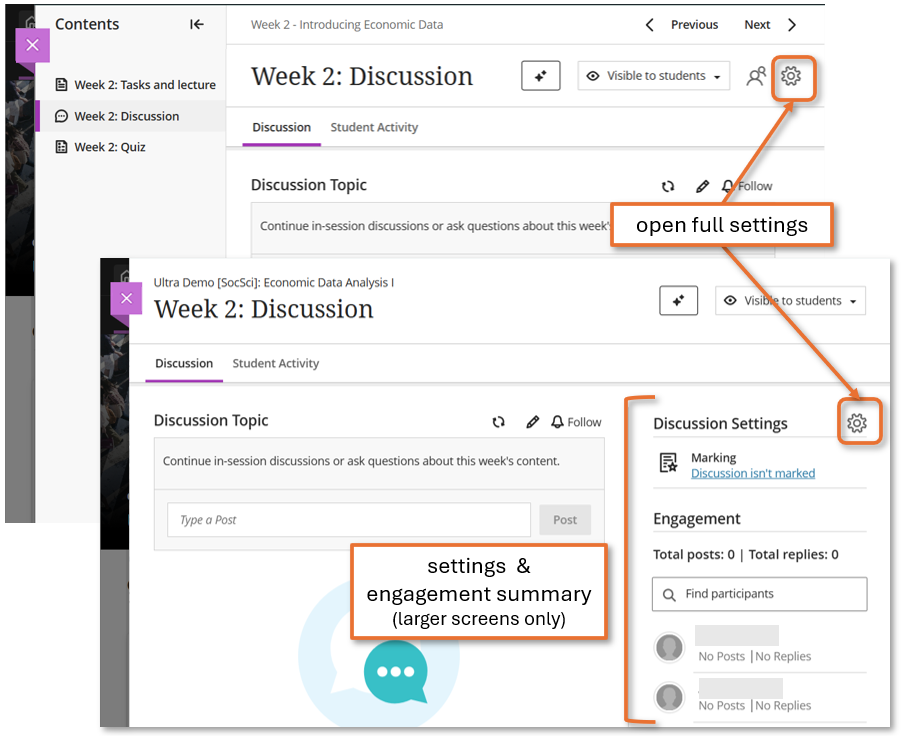
Click the cog icon to open full Discussion settings. This is found:
- in the heading banner in most cases if the Discussion is within a Learning Module.
- at the top of the summary Discussion settings panel next to discussion content on a larger screen or if the Discussion is outside a Learning Module.
Discussions can be set up in various ways to support different teaching and learning activities.
Anonymous posting
You may wish to allow users to post and reply anonymously, for example to encourage participation in a Q&A forum.
To do this:
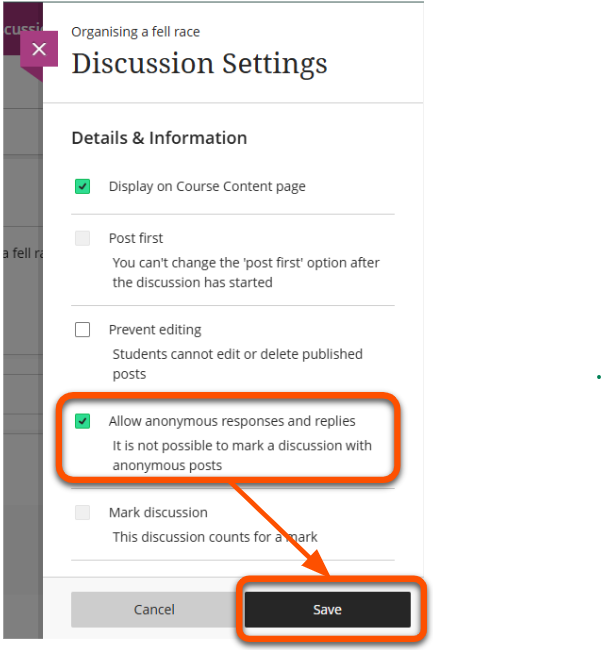
- Open a Discussion and click the settings icon towards the top right of the screen
- Tick Allow anonymous responses and replies
- Click Save.
- An anonymous posting label will now display on the discussion and the participants list is hidden.
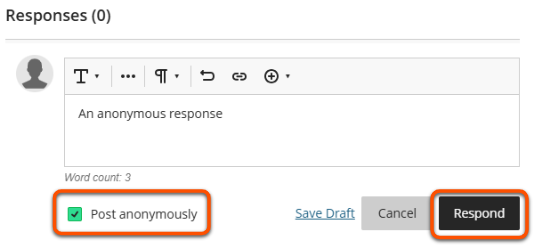
Posts are not automatically anonymous - users must tick Post anonymously before they submit their response.
DET staff have the ability to reveal a post's author, for example to investigate inappropriate behaviour. If this is required, please contact us to discuss.
Assign to groups
Tip
Use this quick and easy setting to avoid creating multiple Discussions for each group with release Conditions to manage access.
By assigning a Discussion to groups, a separate Discussion space is created for each group. Students can only access their own Discussion, but staff can access all of them.
This can be useful to:
- provide private discussion spaces for seminar groups or to support groupwork.
- manage discussions for large student cohorts.
Set up:
- Create and set up the discussion as above (only one is needed for all groups).
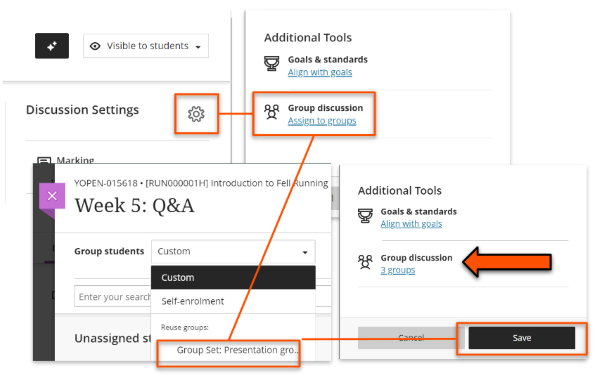
- Click the Discussion Settings cog icon.
- Under Additional tools, click Assign to groups.
- Assign students by setting up new groups (see our Groups guide for details) or reusing existing groups and save.
- Back in the Discussions settings, the assigned groups are now shown. Click Save to finish.
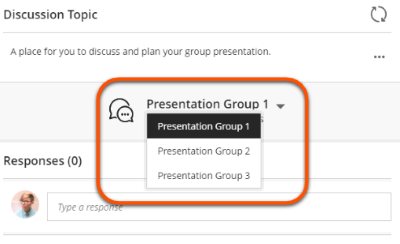
To view each group's discussion:
- Open the discussion.
- Select the relevant group name from the drop-down menu below the instructions.
Post first
You can require students to make a post before they can see other students' contributions. For example, students could:
- summarise a topic/key points from a reading before they see other students' ideas.
- create multiple choice questions for other students to test their understanding.
- create their own discussion question before responding to other questions.
To set up post first:
- Open the discussion and click the Discussion Settings cog icon.
- Tick the Post first option.
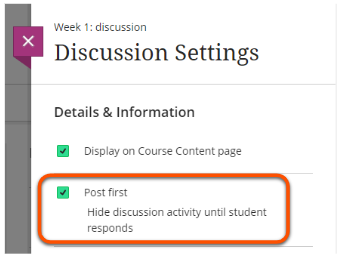
- Click Save.
Mark discussion
You can also grade discussions. This could be useful to:
- set making a post as a release condition for other materials
- use a discussion as a summative assessment
- show students you've reviewed their formative response
- use a marking rubric to grade and give feedback
Tip
You cannot mark discussions that allow anonymous posting.
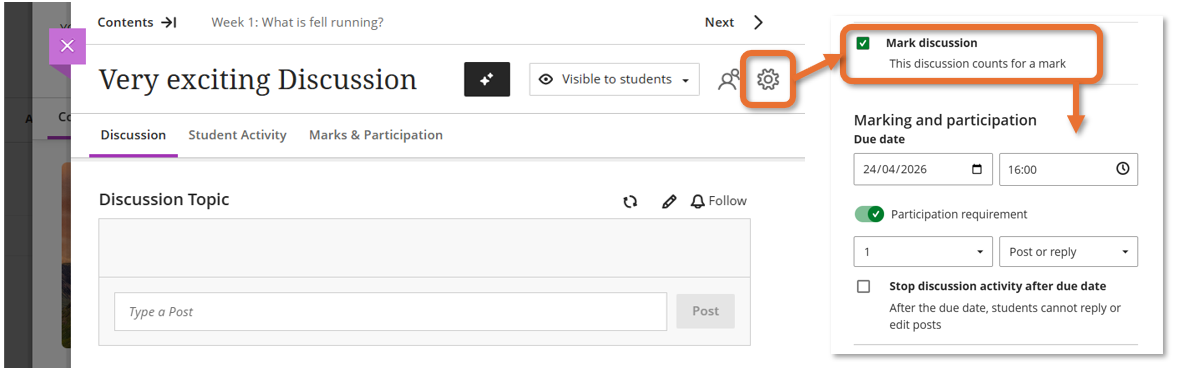
Set up a marked discussion
- Open the Discussion and click the Discussion Settings cog icon.
- Select Mark discussion.
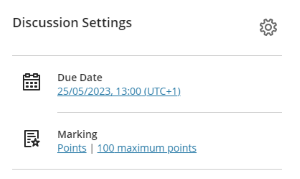
- In the Marking and Participation section that appears, set:
- the due date (during working hours)
- any participation requirements (numbers of posts and/or replies to make)
- if the discussion activity (ie. students cannot reply or edit posts) should stop after the due date.
- how the discussion is marked.
- In Additional Tools, there is also the option to add a marking rubric.
- Click Save.
Mark discussion participation
- Open the Discussion and select the Marks & Participation tab.
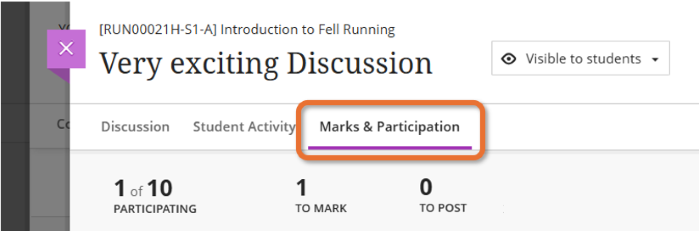
- Click a student's name to open their participation.
- There are various Discussion metrics available which you may use to inform your marking.
- Enter a mark in the mark pill in the top right.
- Use the arrows to move between students.
- When all participation has been marked, click Post all marks.