Course Groups
Summary
Use Course Groups to set up groupwork and manage administrative and assessment-related tasks. There are various ways to assign members to groups.
Why use Course Groups?
Course Groups can be used in many ways to manage different teaching and administrative activities in your course, such as:
- facilitating collaborative work (eg. group projects or assignments).
- restricting course content visibility (eg. provide separate Discussions for each seminar group).
- managing assessment workflows (eg. marking groups or managing extensions).
Administrative staff managing assessments may wish to follow the guide: Setting up Groups to manage extensions, flagging and multiple markers using CSV files.
Group Sets
Groups are organised within Group Sets, which is a 'group of groups' for a specific purpose. For example:
- a Presentation group set to allocate students for a group presentation.
- a Marking group set to assign submissions to different markers.
Within a group set, students can only belong to one group; Presentation group 1 OR Presentation group 2. Across group sets, students can belong to multiple groups; Presentation group 1 AND Marking group 2.
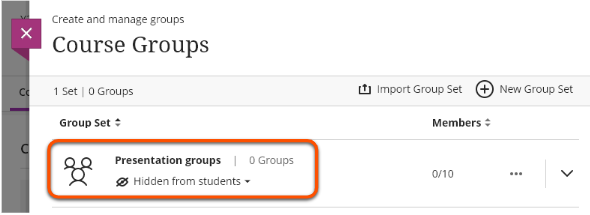
Group set visibility
Each group set can be hidden from (default) or visible to students depending on the set's purpose. For example, the Presentation group set should be visible so that students can see their group details, but the Marking group should be hidden as students don't need access to this information.
If the group set is visible, students will only see their specific group.
There are two ways to set group set visibility:
- On the Course Groups page: the visibility drop-down menu appears under each group set name.
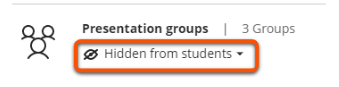
- Within a specific group set: the visibility drop-down menu appears in the top right.

Create a group set
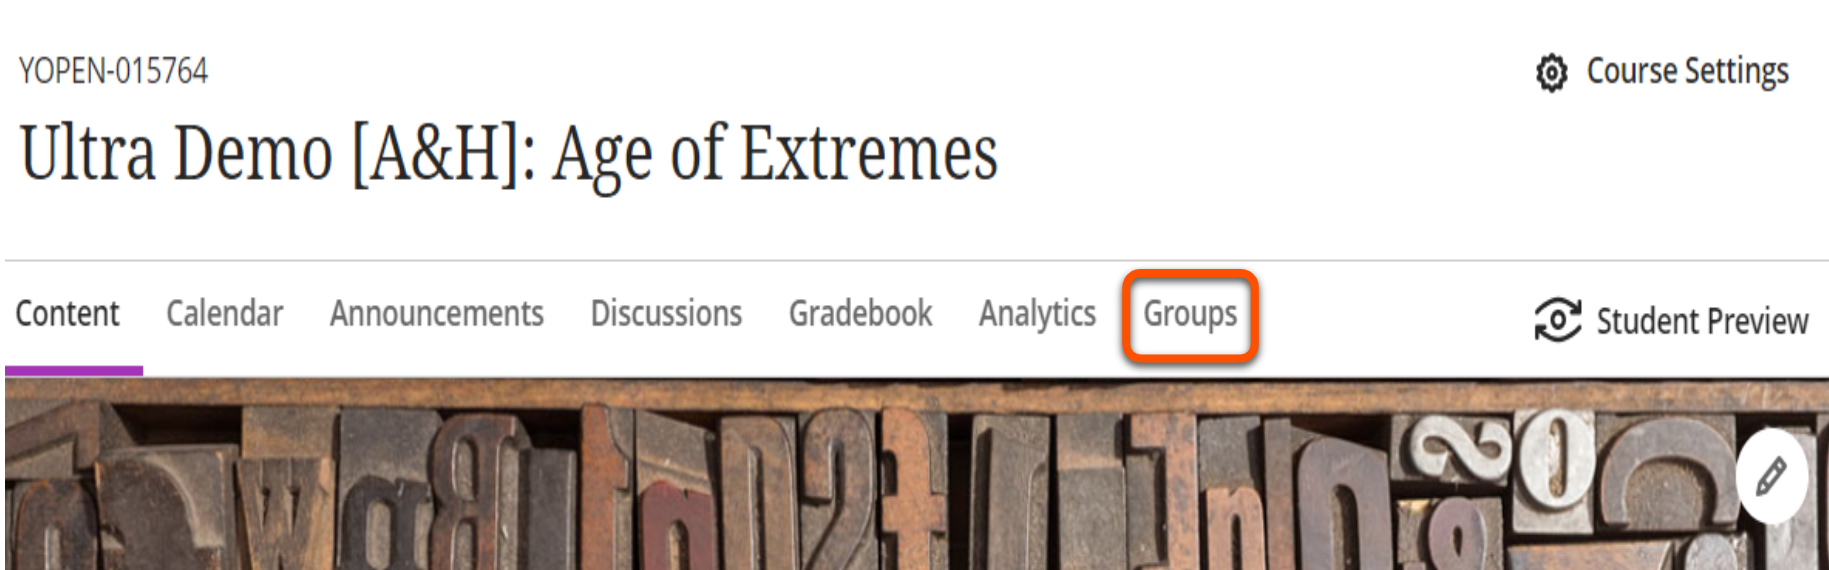
- Click Groups in the top navigation menu. Here you can view and manage all of the group sets you have created.
- Click New Group Set with the plus icon in the top right (on a small screen you'll only see the plus icon).
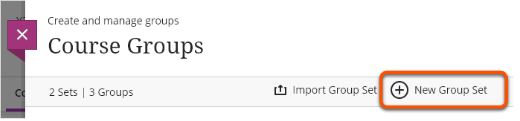
- Click the default 'New group set' name and input your desired name, e.g. "Presentation groups".

- Click Save or create groups and assign students now using one of the methods below.
Watch a demonstration of creating a group set and groups:
Creating Groups in Ultra [YouTube]
Assign students to groups
There are numerous ways to assign students to groups:
- random assignment
- custom (manual) assignment
- self-enrol
- reuse groups
- import groups and assignments
For each method, start by opening the Group Set in the Groups page. If you don't have a group set yet, follow the steps above.
Then follow one of the methods below.
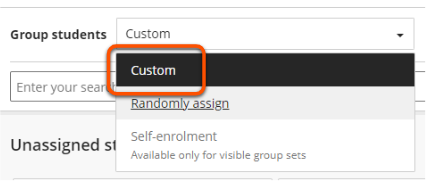
Custom (manual) assignment
Manually choose which students are assigned to each group.
- Next to Group students, select Custom from the drop-down menu (this is the default option).
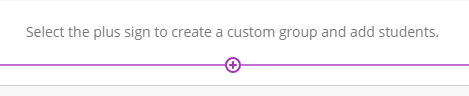
- Under the student names, click the plus icon to create groups. Alternatively, you can create groups later.
- For each group, click the default 'New group X' name and input your desired name, e.g. "Presentation group 1". Add a description if you wish.
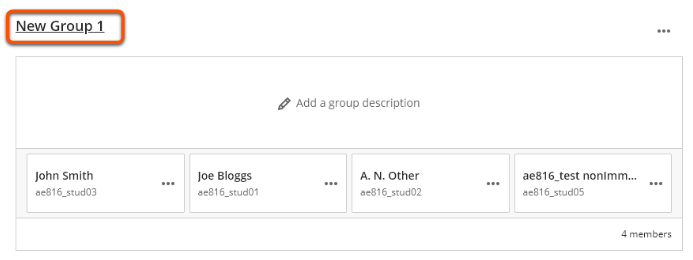
- In the Unassigned students area, select the students to add to the first group.
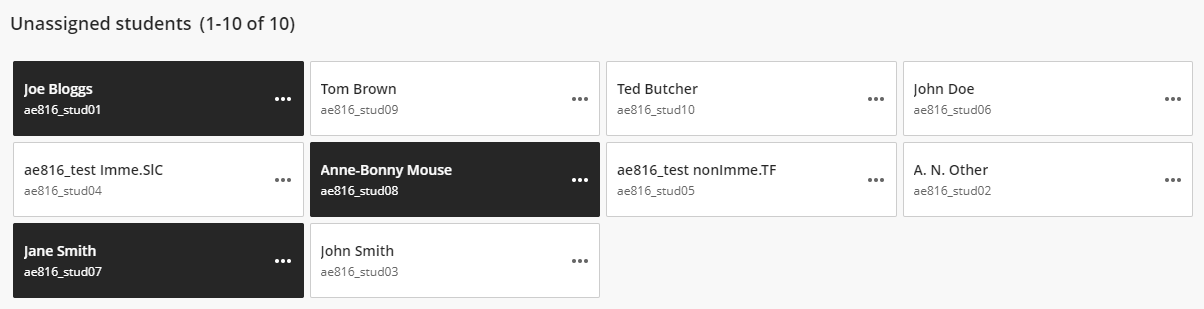
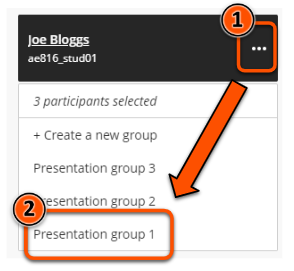
- Click the three dots icon next to one of the student's names and select the group to add students to. If you didn't create groups in step 2, you can create a new group here.
- Repeat steps 4 and 5 to assign all students to a group.
- Click Save
Watch a demonstration of custom assignment:
Manually assigning Students and moving students between groups [YouTube]
Random assignment
Randomly assign students to evenly-sized groups.
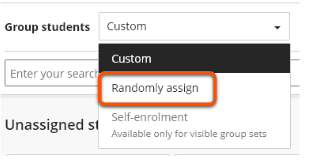
- Next to Group students, select Randomly assign from the drop-down menu.
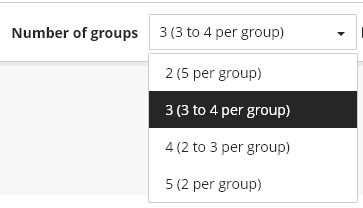
- Next to Number of groups, select your desired number of groups from the drop-down menu. Each option shows the resulting group size.
- For each group, click the default 'New group X' name and input your desired name, e.g. "Presentation group 1".
- Add a description for each group if you wish.

- Click Save.
Watch a demonstration of random assignment:
Setting Up Groups in Ultra - Randomly Assign Option [YouTube]
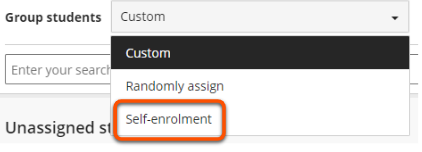
Self enrol
Students choose which group to join (eg. sign up for a project topic).
- Use the visibility menu in the top right to make the group set visible to students.
- Next to Group students, select Self-enrolment from the drop-down menu.
-
In the Advanced options section that appears:
- add Description with instructions for students
- add enrolment start and end dates
- adjust the maximum members per group if desired (make sure this gives enough capacity for all students to join a group).

- A number of self-enrol groups are then automatically created. You can add or delete groups as needed to give your desired amount.
- For each group, click the default 'New group X' name and input your desired name, e.g. "Presentation group 1". Add a description if you wish.
- Click Save.
Watch a demonstration of setting up self enrol:
Setting up groups in Ultra - Self enrollment default [YouTube]
Reuse groups
Copy groups and student assignments from existing group set.
- Next to Group students, select a group set under Reuse groups from the drop-down menu. You'll only see this option if you have at least one other existing group set.

- Groups and student assignments will be copied from the selected group set. Edit as needed.
- Click Save.
Manage groups & members
Start by opening the Group Set: under Details & Actions, click Course Groups and select a group set to manage.
Tip
Editing groups or assignments here will affect all places where that group is used: Discussions, group assignments etc.
Add a group
- Click the plus icon in the list of existing groups.
- Click the default 'New group X' name and input your desired name, e.g. "Presentation group 1".
- Add a description for each group if you wish.
Delete a group
- Click the three dots across from the group name and select Delete group.
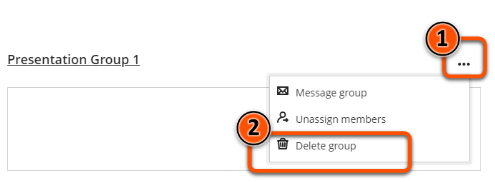
- On the 'Are you sure' prompt, click Delete again. Note: this can't be undone.
- Students from the deleted group are returned to the Unassigned students section.
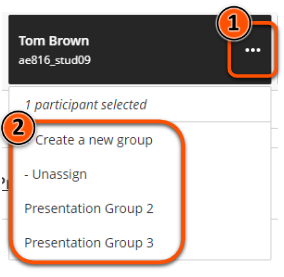
Move or unassign individual students
- Select the student(s) to move and click the three dots next to their name.
- Select an option from the drop down menu that appears: create a new group, unassign from the current group or move to an existing group.
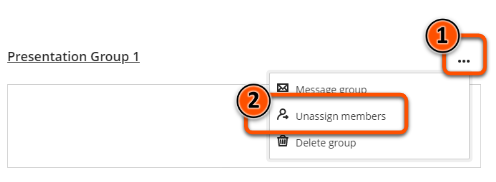
Unassign students in bulk
- Unassign all students from all groups in a group set: Click Unassign All near the top right of the group set page.

- Unassign all students from a single group: click the three dots across from the group name and select Unassign members.
- Unassigned students are returned to the Unassigned students section.
Import groups or members
You can upload group and/or member information from CSV files (in separate stages). It's possible to import to multiple group sets using the same CSV file.
Tip
It can be very fiddly to prepare the CSV files in the right format, so unless you have a lot of groups and/or enrolments it's likely easier to set up and assign members to groups using one of the methods above.
Import groups
Recommended only for importing a large amount of groups. In most cases it will be quicker and easier to create groups manually.
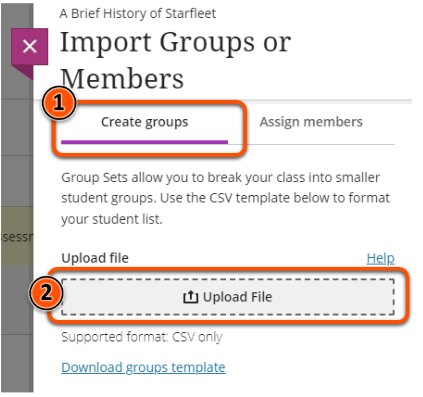
- Create and save a group set and then reopen it, or the import icon won't appear.
- Click the import box/arrow icon near the top right. If you hover over this icon, the text 'Import groups or Members' will appear.

- On the Create groups tab, click Download groups template.
-
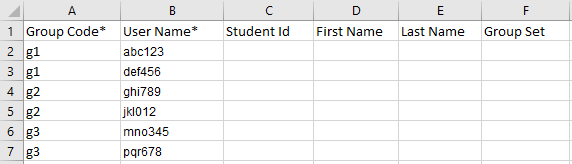
Open the downloaded file and fill in the group information:
- Group Code (mandatory): an alphanumeric code for each group, eg. g1. These are only used to import group assignments, so can be anything.
- Title (mandatory): the group title that will be visible in the course, eg. Presentation group 1.
- Description (optional): a description for the group that will be visible in the course.
- Group Set (mandatory): the name of the group set, with words separated by gc, eg. Presentation groups becomes Presentation_gc_groups.
- Self Enroll (mandatory): Y or N, depending on whether the groups should be self-enroll.

-
Save the file in csv format (NOT .xls or .xlsx).
- On the Create groups tab, upload the CSV file and click Import.
- Click Save.
Import assignments/group members
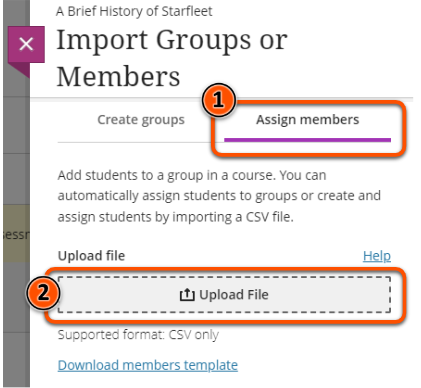
- Create and save a group set and then reopen it, or the import icon won't appear.
- Click the import box/arrow icon near the top right. If you hover over this icon, the text 'Import groups or Members' will appear.
- On the Assign members tab, click Download members template.
-
Open the downloaded file and fill in the group information:
- Group Code (mandatory): the alphanumeric code for the relevant group, eg. g1. This is the code created in the import groups step.
- Username (mandatory): the student's username, eg abc123.
- StudentID (optional): leave blank.
- First Name (optional): leave blank.
- Last Name (optional): leave blank.
- Group Set (optional): if assigning members to 1 group set, leave blank. If assigning members to 2+ group sets, the name of the group set, with words separated by gc, eg. Presentation groups becomes Presentation_gc_groups.
-
Save the file in csv format (NOT .xls or .xlsx).
- On the Assign members tab, upload the CSV file and click Import.
- Click Save.
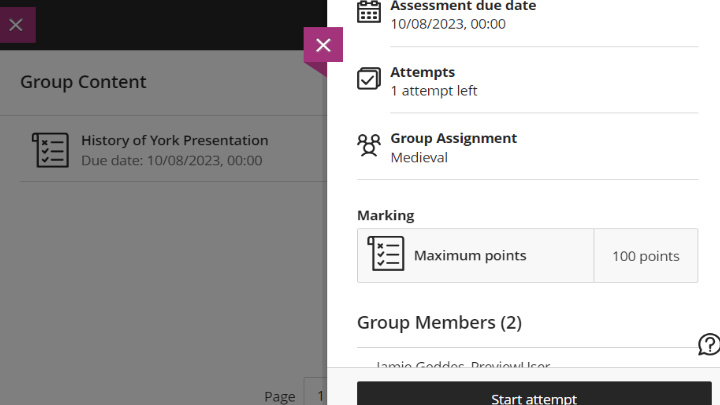
Group Spaces: student access to groups
Students can access their assigned groups on the groups tab. From there, students can view all student members of their group.
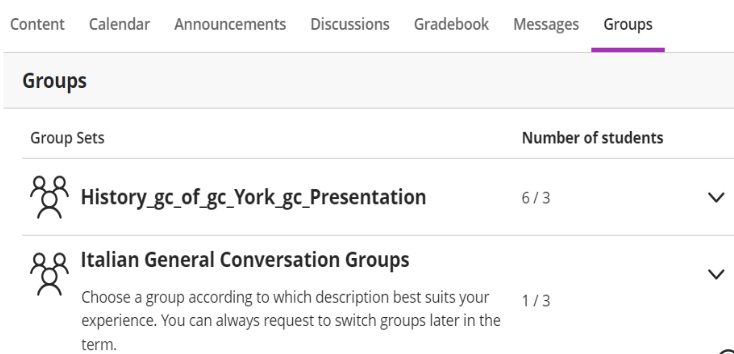
To access a Group Space, students should select the group's name. Students can access all assessments aligned to their group.